AI WORKFLOW
How to use Codex + Blender to make educational animations
August 7, 2026 · 32 reads
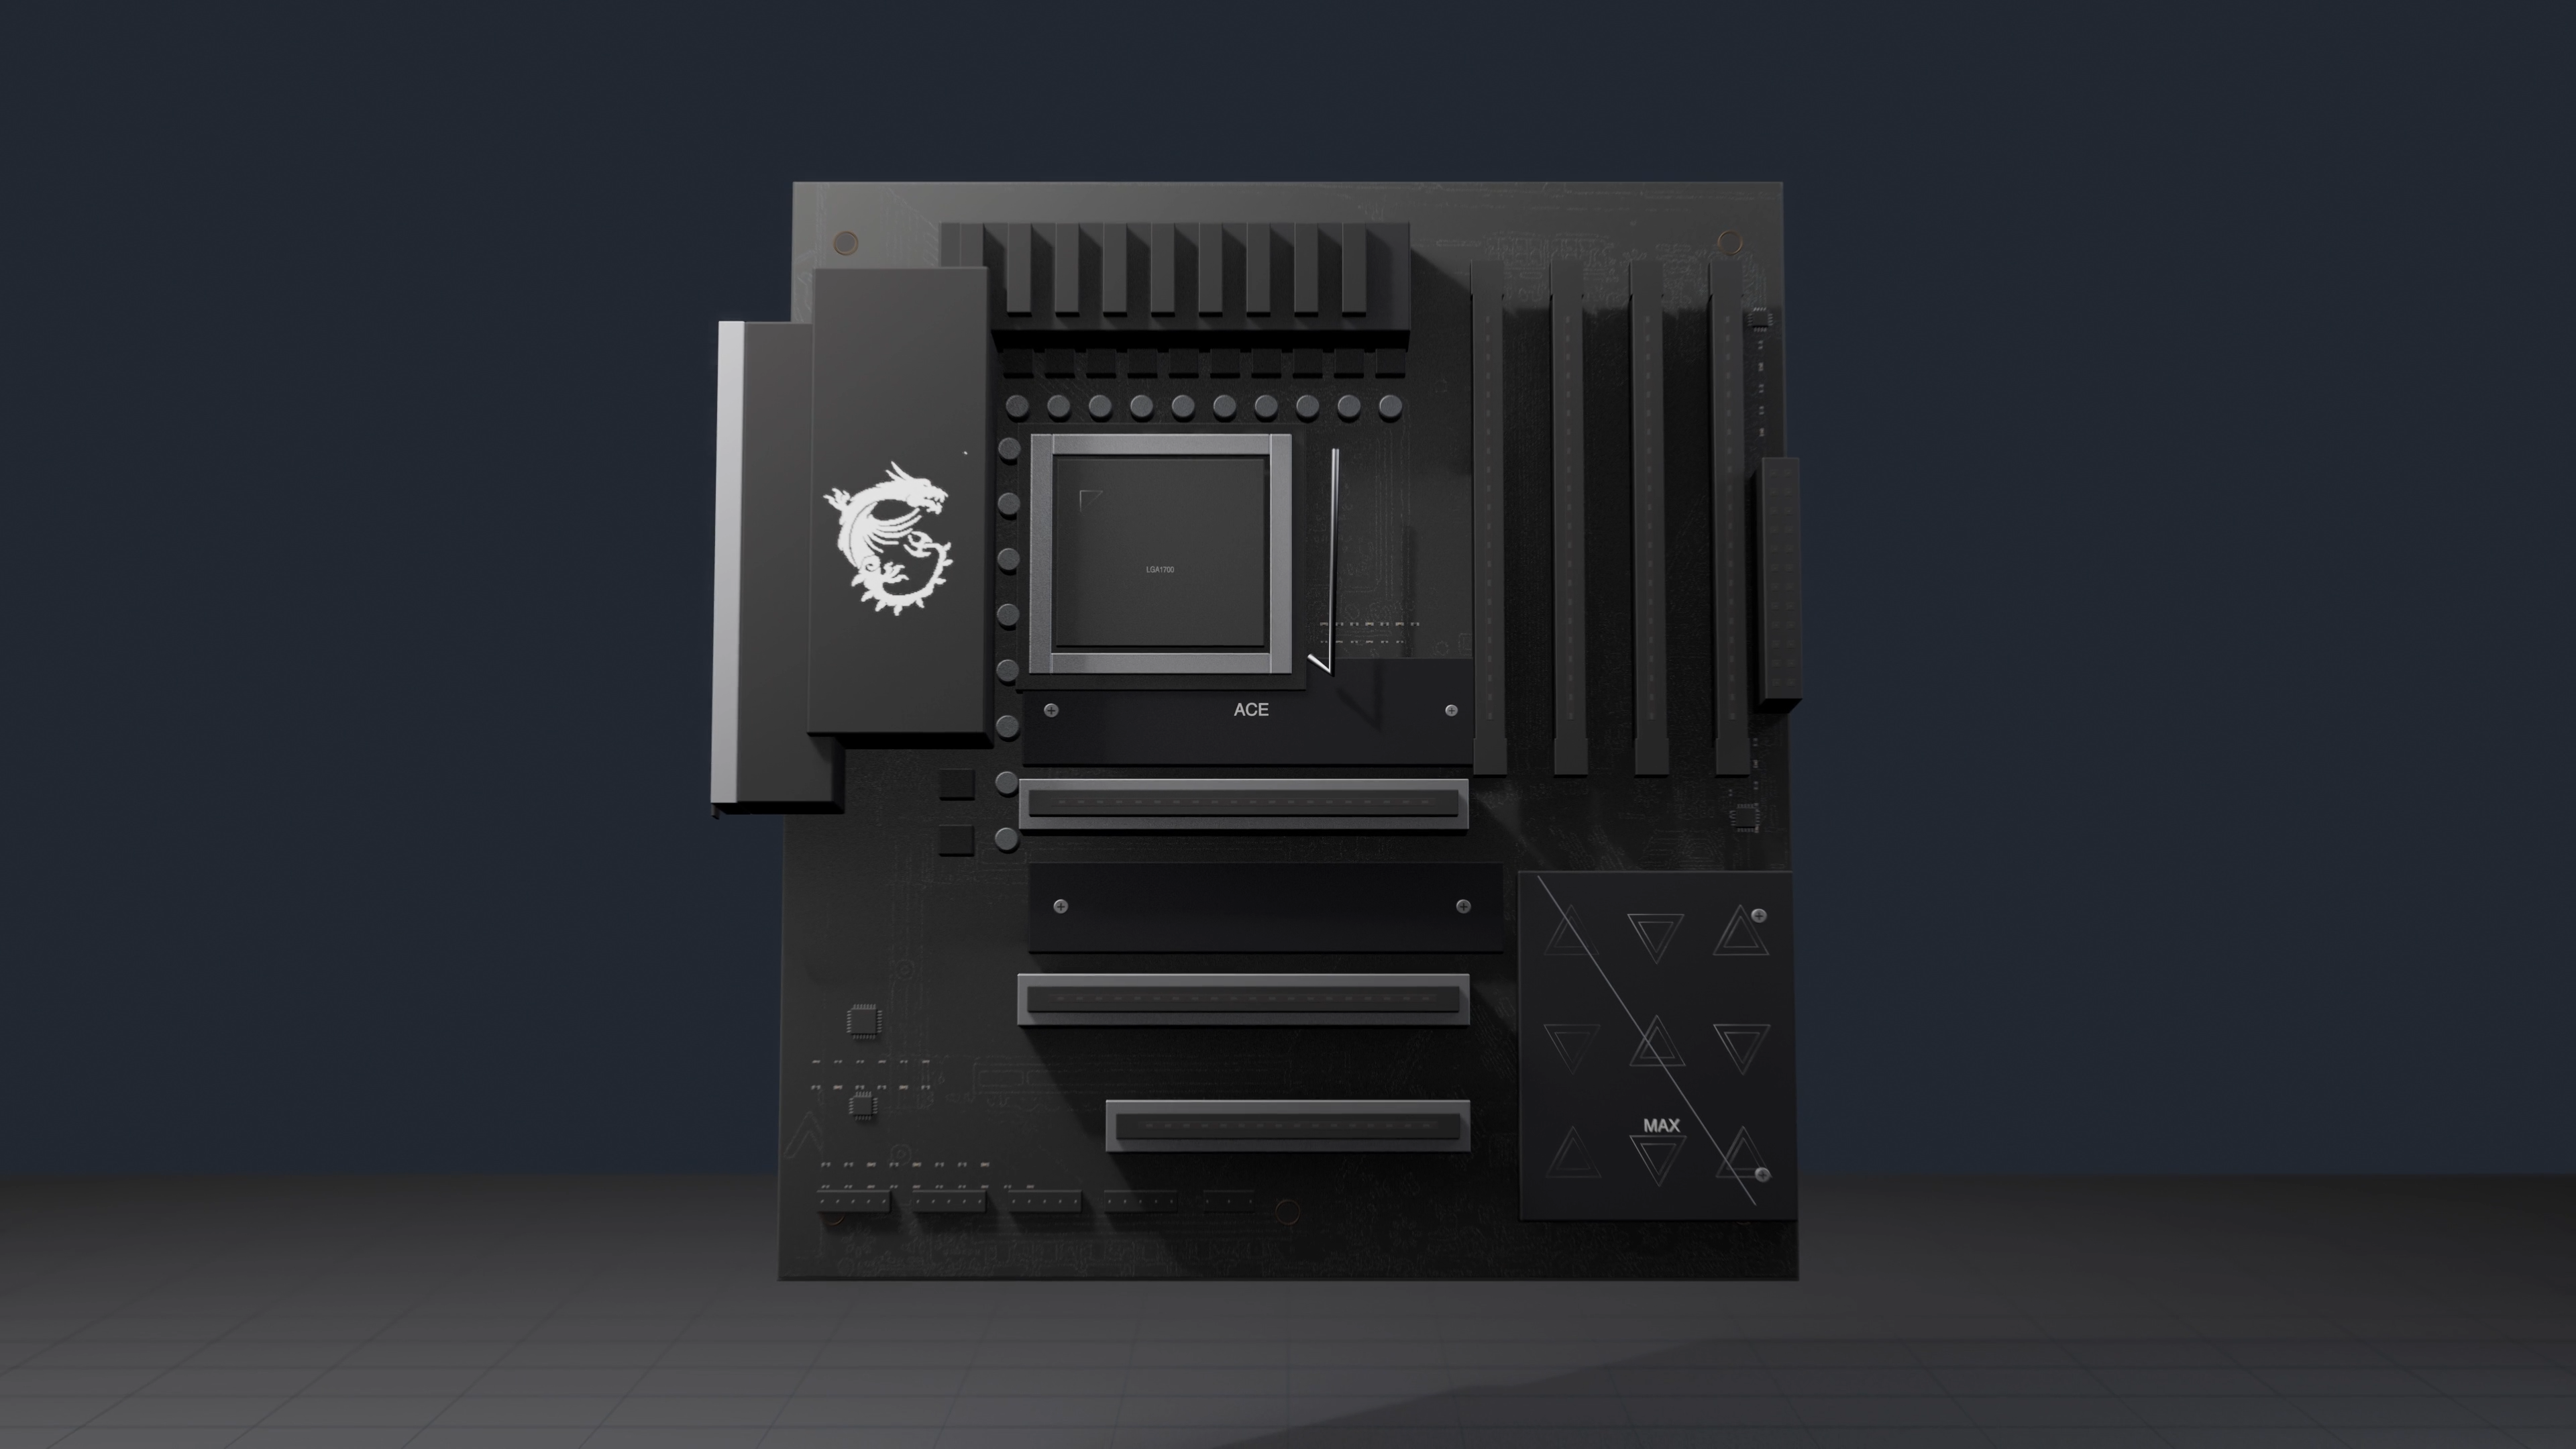
Blender has always felt like one of those tools you need to “properly learn” before you can make anything useful. It is a full 3D production tool to model a house, open up a computer chip, or show blood moving through the heart. It can animate objects and cameras, simulate physical systems, add lighting and materials, and render everything as a finished video.
That range is also what makes Blender intimidating. Open the app and you face a wall of panels, modifiers, materials, lights, cameras, keyframes, and render settings. Even a simple educational animation can turn into a small production: research the subject, model the scene, animate it, write the narration, generate captions, render thousands of frames, and hope the audio still lines up at the end.
Thanks for reading! Subscribe for free to receive new posts and support my work.
But now with the help of AI agents such as Codex, you could use plain English and finish high quality videos without even opening the app. With proper prompts and workflows, Codex could research the subject, plan the scenes, write Blender Python, build and animate the 3D elements, generate narration and captions, manage the renders, and check the final export with Computer Use.
Before diving into the details of the workflow, I want to first show you the videos I made using Codex + Blender, without opening the Blender app and with zero knowledge on how to make a scene manually.
Internals of NVDIA GH100
How to build a typical American house
How the blood flows through the heart
How a car engine works
The workflow is not complicated. However, there are indeed a few gotchas that are only obvious after multiple rounds of trial and error.
Dive Into The Workflow
1. What Blender can decide for you
Even with a simple prompt, such as:
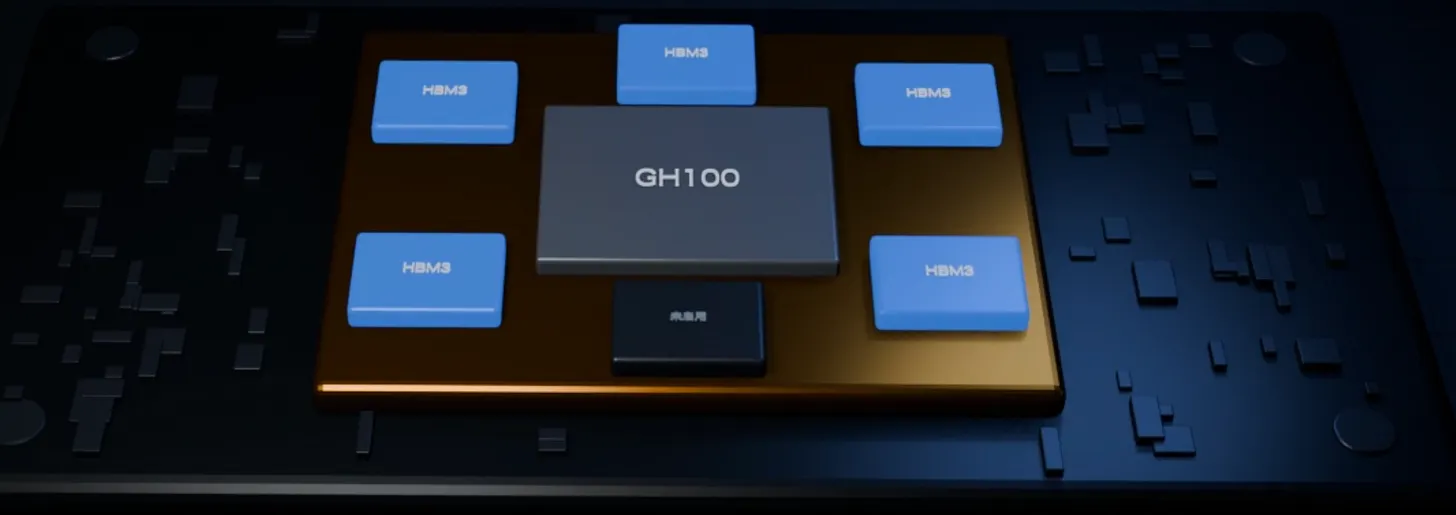
Please make an educational video using Blender to show different parts in NVDIA H100, with narratives and subtitles.
It would go to the official website to gather all the details, then define the technical scope, an explanatory pattern, translate the visual style(realism, material treatment, lighting, palette, camera language etc) to Blender Python and Geometry Nodes. It would also choose a TTS model and bake in subtitles. In this example, one-shot with 5.6 Sol High results in the following scene:
2. What you should decide for Codex
That’s a valid 3D scene. However, put it next to a high-quality production like Branch Education’s chip explainer series, though, and they are completely different animals. Thanks to the multi-modality capabilities of the model, all you need to do is to give Codex a reference video and ask it to study the visual language closely: the geometry, materials, lighting, camera work, pacing, labels, and level of detail, to reverse engineer the video and raise the quality bar for the details.
Aside from that, you still need to make a few important decisions:
- How long should the video be?
- Who is the target audience, and what should they understand by the end?
- Which articles, files, videos, audio, or other references should Codex use to shape the outline and details?
Codex can suggest defaults, but those defaults are guesses. A vague brief gives Codex room to make choices you may not like, and it is better to give it clear instructions for those questions.
Once I give Codex a reference video of Branch Education, the next video quality is another level:
3. Get the scene right before the full render
Producing a Blender animation is expensive in two ways. Codex may use substantial tokens to plan and coordinate the work. Blender then needs significant computing power, memory, and time to render it. A detailed 4K animation can easily take several hours.
That makes early visual approval essential. Ask Codex to render exactly one representative 4K frame containing the finest readable detail, a representative label, and a sample burned-in subtitle. Review the materials, lighting, composition, level of detail, and typography. If something feels off, ask Codex to revise the scene. Repeating this process before the full render can save hours of rework later.
For voice-over, if you are not planning to record yourself, I highly recommend two options: Kokoro-82M and Microsoft Edge TTS. Kokoro runs locally and offers natural, warm, clear English voices. Microsoft Edge TTS is cloud-based, works well for multilingual scripts, and handles technical vocabulary reasonably well.
4. Let Codex look for existing Blender resources
For some subjects, such as human anatomy, high-quality Blender templates already exist on GitHub. Starting with a well-built template gives Codex a stronger foundation than modeling everything from scratch. It can then focus more on the explanation, animation, and visual polish, improving the chances of producing a high-quality video.
For example, when I asked Codex to create a video showing how blood flows through the heart, its first attempt looked like this:
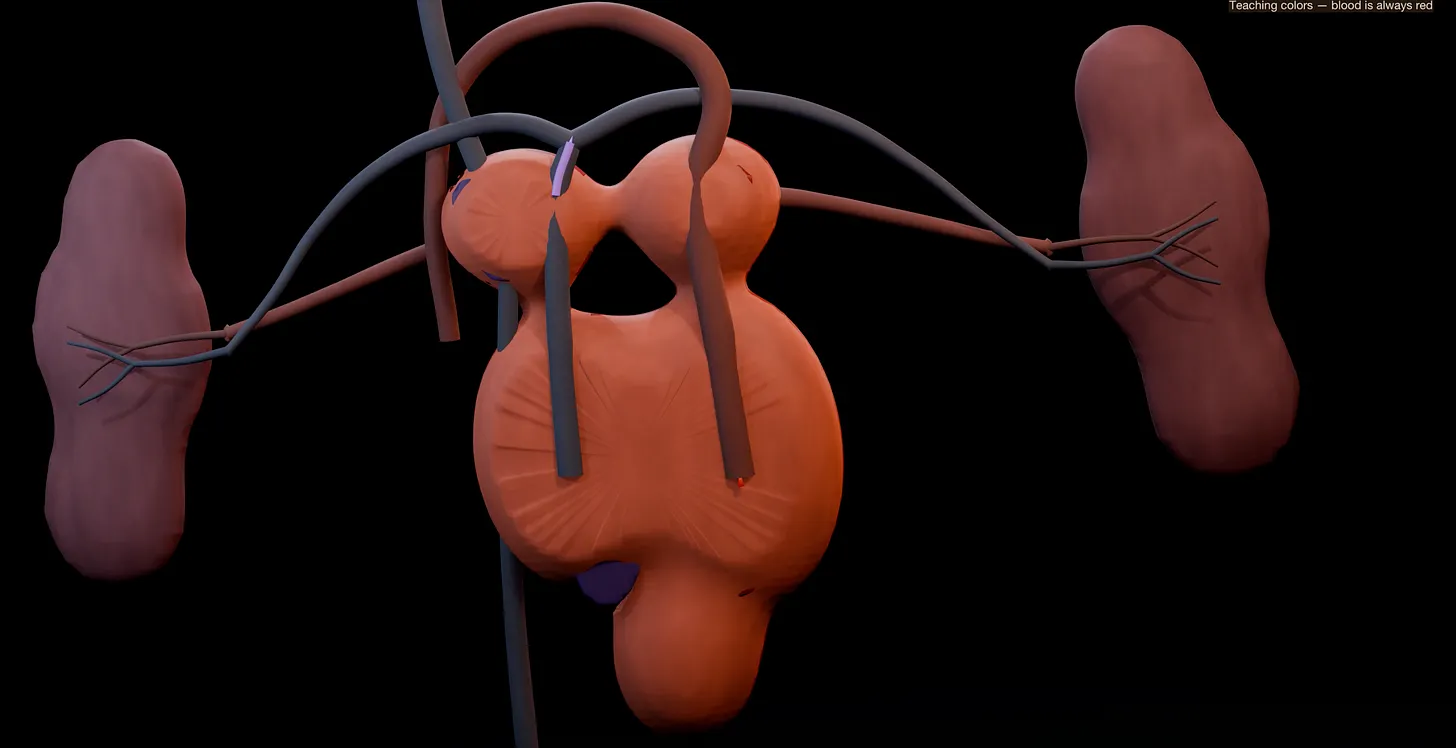
After I gave it high-quality Blender templates to reference, the result looked like this:

It is always a good idea to stand on the shoulders of giants instead of reinventing the wheels everytime.
The skill to get started
Enough talking. I’ve packaged the workflow into a skill: make-blender-education-video-skill.
The skill captures the most important lessons from my experiments:
- Before starting, Codex asks about the video’s length, audience, learning goal, visual style, and research sources.
- It searches GitHub for reusable Blender workflows, templates, and assets.
- It includes guidance and scripts for structuring the explanation, translating a visual reference into a style brief, and building the visual system.
- It renders exactly one representative frame, then stops for your approval before producing the full video.
- It prepares English narration and burns English subtitles into the final video.
This skill will by no means produce a perfect video on the first try. Its value lies in capturing the setup, checks, and repeatable steps I learned through trial and error. Treat it as a starting point. Iterate on the brief, references, and visual direction until the workflow fits your topic and audience.
And let me know what you’ve made from the skill - I’m curious to hear.